請先看『使用說明』
MB:NEX003
From LEXWiKi
| O.S. | CPU | Rev | mini HDMI | USB3.0 | type-c | LAN | I2C | UART | RS485 | HAILO | DIO | mipi | Download | Patch |
|---|---|---|---|---|---|---|---|---|---|---|---|---|---|---|
|
mickledore_desktop |
A53 |
0.1 |
Yes |
Yes |
Yes |
Yes |
Yes |
Yes |
Yes |
Yes |
Yes |
Yes |
kernel 6.1.55-2.2.0 |
Contents |
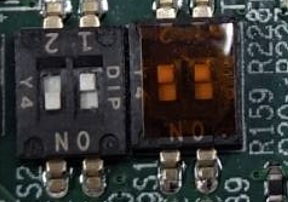
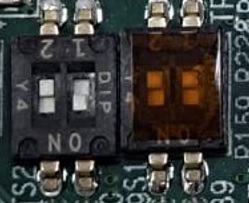
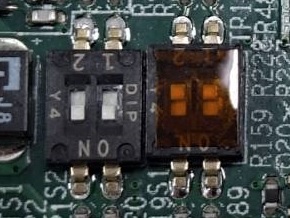
Select Boot Mode (Serial Download 、eMMC、SD Card)
NEX-003 is switched by the DIP switch. Please refer to the figure below to select the mode you want to use.
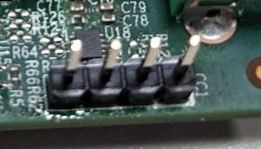
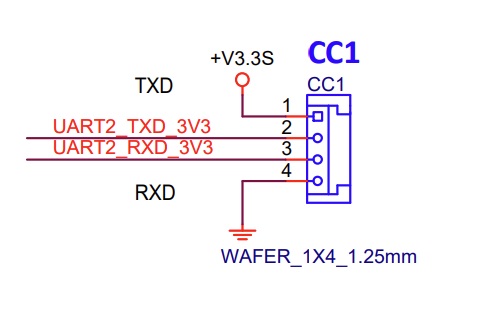
Debug (UART, CC1)
CC1 is the NEX-003 DEBUG mode port. It sends signals to the PC via uart to usb.
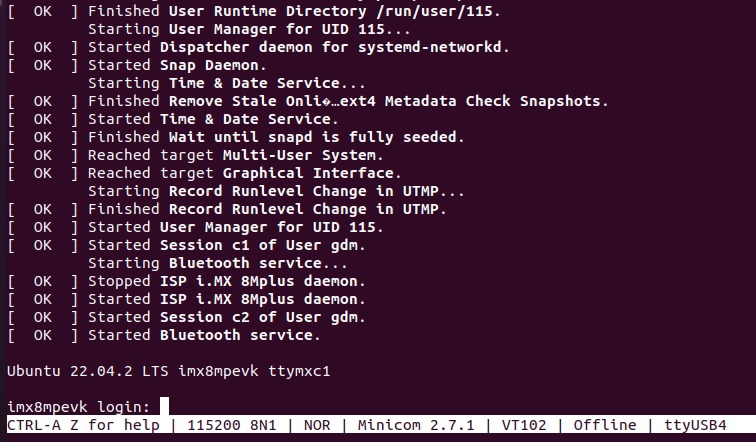
Please refer to the login screen below. CC1 provides debug information to the PC. The account and password we use here are both user.
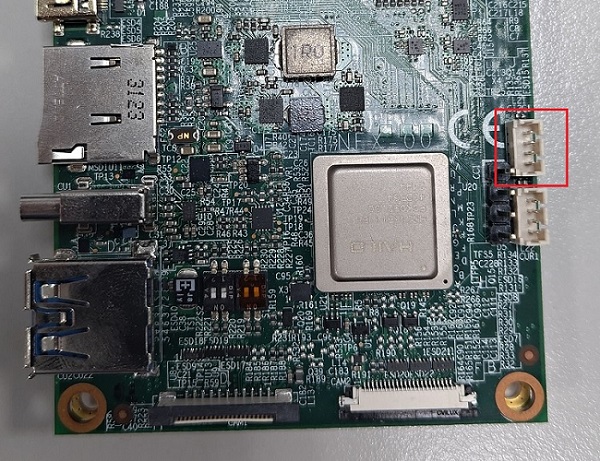
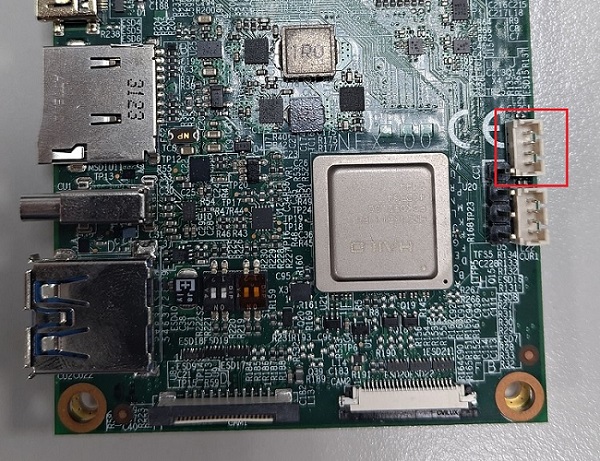
UART (UART0, CUR1)
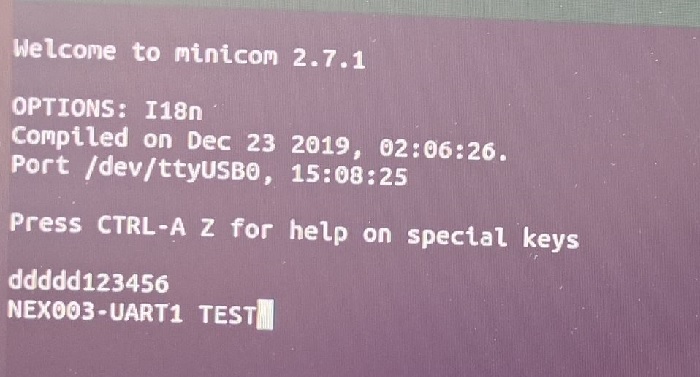
CUR1 is the NEX-003 UART mode port. It sends signals to the PC via uart to usb.
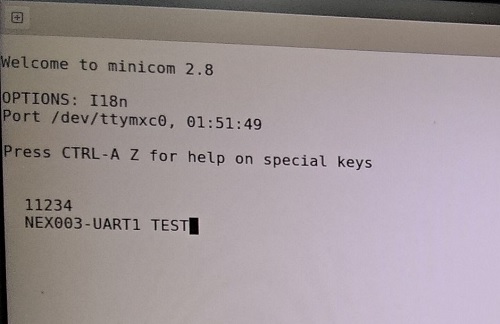
We demonstrate how to use USB to UART to transmit signals between the two sides. Please refer to the figure below for the result.
I2C (I2C2, CI2C1)
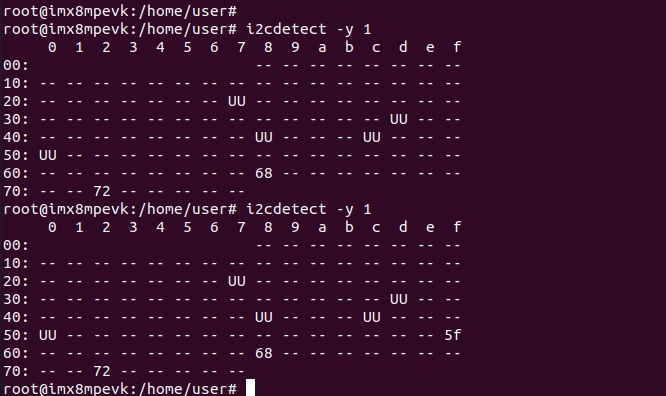
CI2C1 is the NEX-003 I2C mode port. It sends signals to the i2c device.
We demonstrate how to use PW407 check I2C signals . Please refer to the figure below for the result.
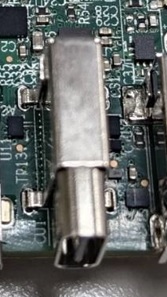
TypeC (CU1)
NEX003 can use CU1 to overwrite emmc. Install YOCTO as a storage device. Please refer to the following link for quick start.
The following picture shows the overwriting completed pattern for reference.
COM(RS485, CCD1)
NEX003 RS485 test method is RS485_D+ connected to RS485_D+, RS485_D- connected to RS485_D-
Cutecom can be used as a test tool
Install minicom using the following command
 user@imx8mpevk:~$ apt-get update
 user@imx8mpevk:~$ apt install minicom
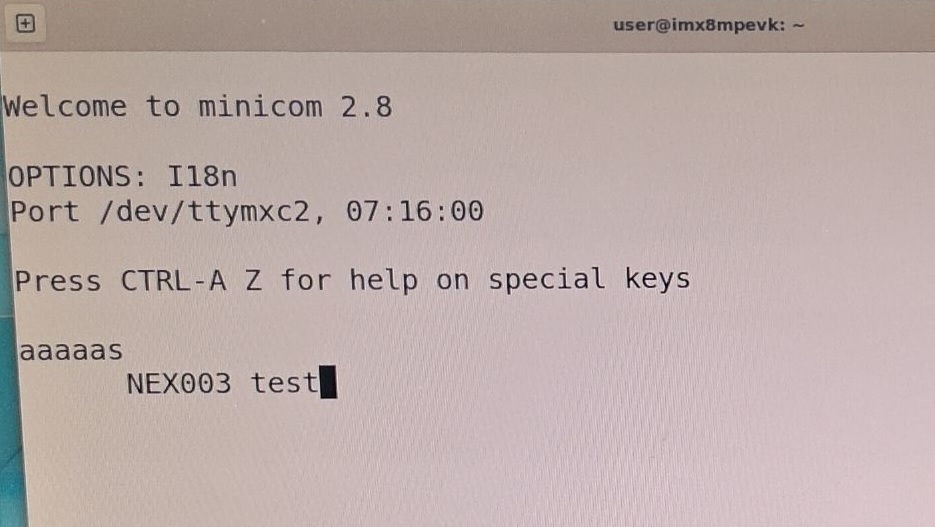
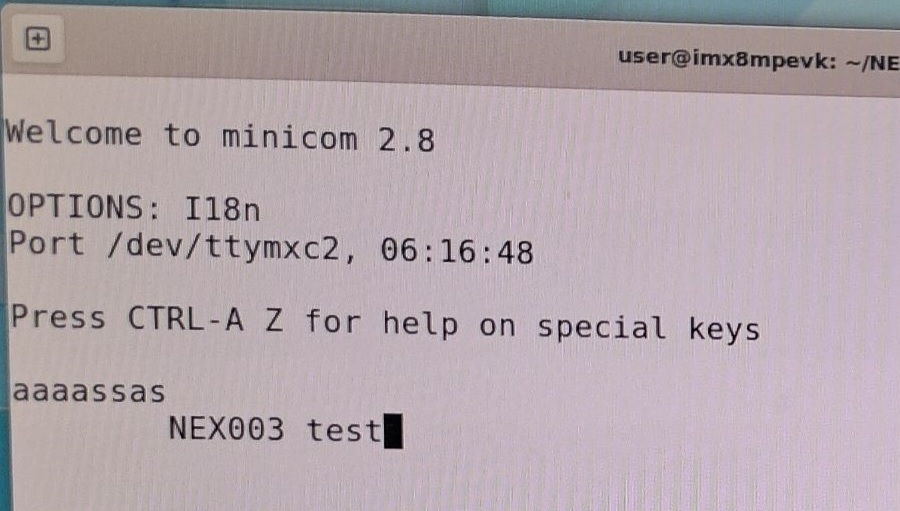
The test results can be seen in the following pictures
DIO (2DI/2DO, CCD1)
NEX003 BDIO test mode is to connect BDI1 and BDO1, and BDI2 and BDO2 can use gpiod as test tool
BDI1 -> GPIO5_IO11 , BDO1-> GPIO5_IO10
BDI2 -> GPIO5_IO12 , BDO2-> GPIO5_IO13
The test results can be seen in the following pictures
If you use libgpiod 2.0, refer to the following test command
Take BDI1->GPIO5_IO11 as an example
user#timeout 0.1 gpioset -c 4 11=0
user#timeout 0.1 gpioset -c 4 11=1
user#gpioget --numeric -c 4 11
MIPI Camera
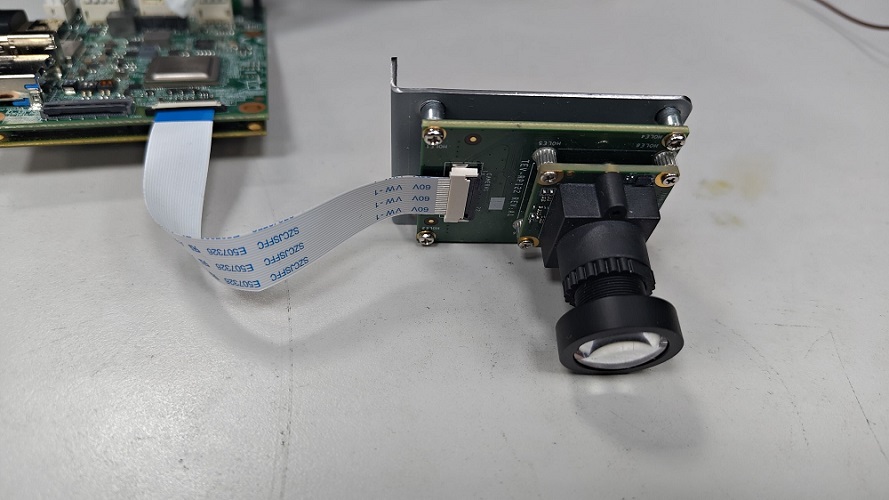
NEX003 mipi camera is used with tevs_ar0821
Search for cheese software in OS and open it to see the image
Ethernet (CL1)
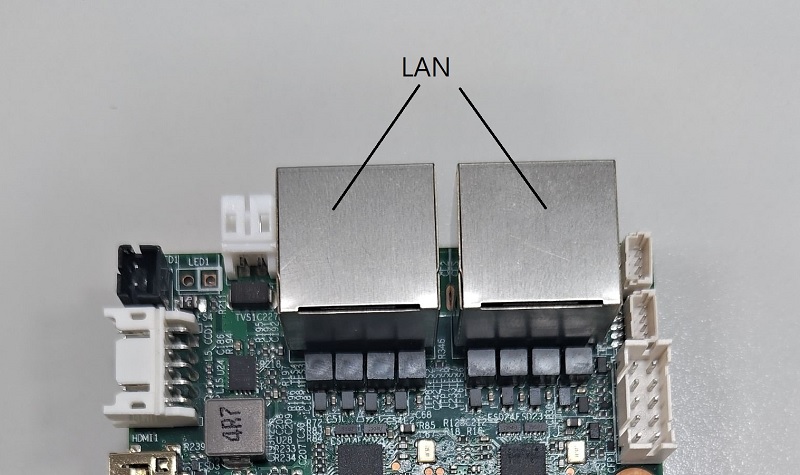
NEX003 have two LAN, use RJ45 to connect to the Internet
Provides you with the ability to connect to the Internet
Hailo-8
Hailo Demo support OS
1.yocto mickledore (kernel 6.1)
Hailo 8 use tappas demo
1.downloads tappas
user#git clone --depth 1 -b v3.29.0 https://github.com/hailo-ai/tappas.git
2.create hailort folder and download hailort source
user#cd `tappas_version`
git clone --depth 1 -b v4.18.0 https://github.com/hailo-ai/hailort.git hailort/sources
3. install Required Packages
user#sudo apt update
user#sudo apt-get install -y rsync ffmpeg x11-utils python3-dev python3-pip python3-setuptools python3-virtualenv python-gi-dev libgirepository1.0-/
dev gcc-12 g++-12 cmake git libzmq3-dev
4.OpenCV Installation
user#sudo apt-get install -y libopencv-dev python3-opencv
user#
5.GStreamer Installation
user#sudo apt-get install -y libcairo2-dev libgirepository1.0-dev libgstreamer1.0-dev libgstreamer-plugins-base1.0-dev libgstreamer-plugins-\
bad1.0-dev gstreamer1.0-plugins-base gstreamer1.0-plugins-good gstreamer1.0-plugins-bad gstreamer1.0-plugins-ugly gstreamer1.0-libav\
gstreamer1.0-tools gstreamer1.0-x gstreamer1.0-alsa gstreamer1.0-gl gstreamer1.0-gtk3 gstreamer1.0-qt5 gstreamer1.0-pulseaudio gcc-12 g++-12\
python-gi-dev
6.PyGobject Installation
user#sudo apt install -y python3-gi python3-gi-cairo gir1.2-gtk-3.0
7.TAPPAS Installation
user#./install.sh --skip-hailort
