請先看『使用說明』
BT878 Module Driver and Demo SDK under Windows
From LEXWiKi
Contents |
BT878 Demo SDK Download
<Google Drive>
Binary file(32 bit): eWatcherSDK_v2.4_x86
Binary file(64 bit): eWatcherSDK_v2.4_x64
SDK Reference: eWatcherSDK_Reference download
<FTP>
Binary file(32 bit): eWatcherSDK_v2.4_x86
Binary file(64 bit): eWatcherSDK_v2.4_x64
SDK Reference: eWatcherSDK_Reference download
Notice in Install Procedure
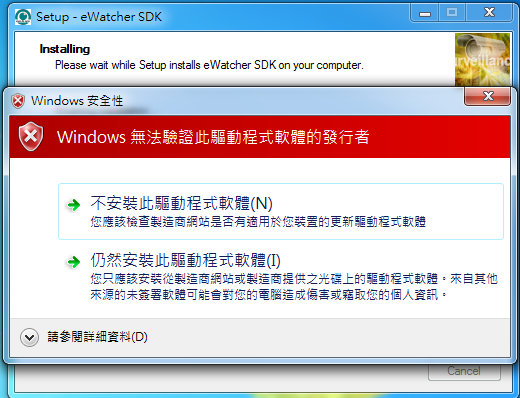
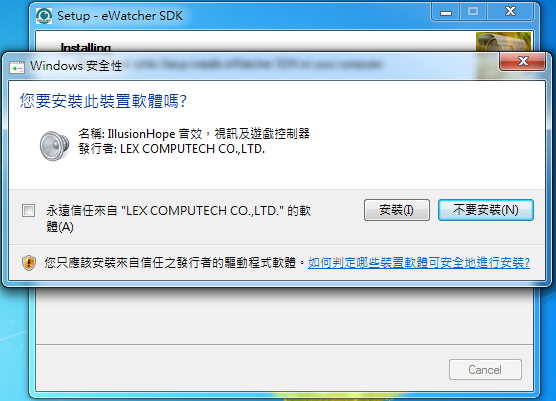
When install our BT878 driver, if see the warning window like pictures below, please select keep to install the driver, and the driver will be install successfully.
How to Use The Utility
Demo application start:
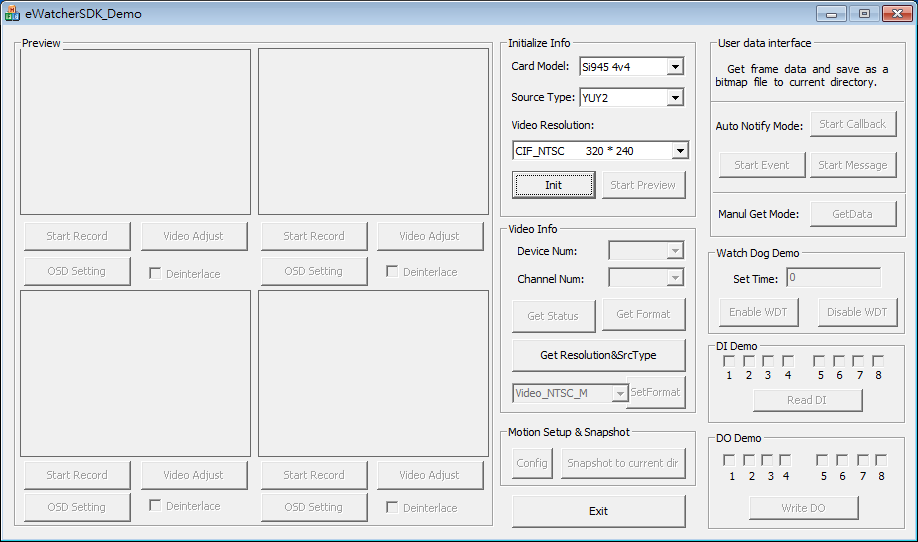
After press the "Init" Button and verify that it's LEX's motherboard.:
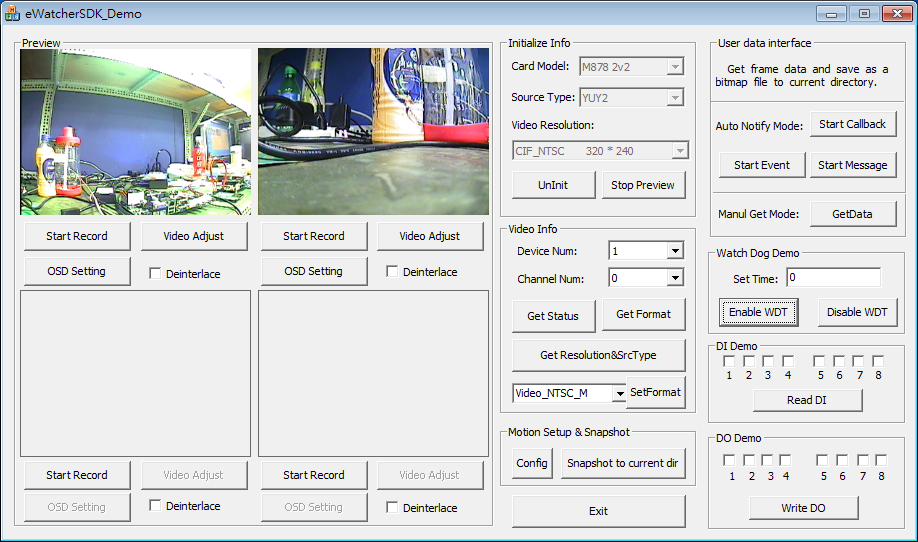
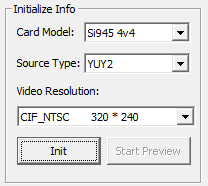
Initialize Info
- Card Model Combobox
- Select your BT878 model type.
- Source Type Combobox
- Select video's source type, and "YUY2" is recommanded.
- Video Resolution Combobox
- Select video's format and resolution.
- Init Button
- Press this after finished set "Card Model", "Source Type" and "Video Resolution". It will verify the motherboard, if it's LEX's MB, this demo application will work, and other controls will be enable.
- Start Preview Button
- Press the button will show the video which camera captured in the frames.
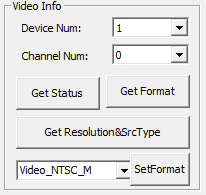
Video Info
- Device Num Combobox
- Select the device which you want to set.
- Channel Num Combobox
- Select the channel which you want to set.
- Get Status Button
- Get current video's setting.
- Get Format Button
- Get current video's format setting.
- Get Resolution & SrcType
- Get current video's Resolution and Source type setting.
- Format Combobox & Set Format Button
- Select device support format, and press "Set Format" Button beside to set.
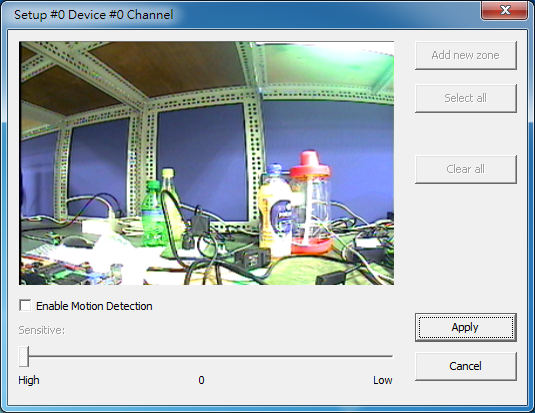
Motion Setup & Snapshot
- Config Button
- Motion detect demo.
- Snapshot to current dir Button
- Save a snapshot to the current directory.
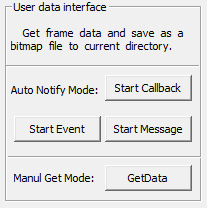
User Data Interface
There are four type to get frame data, press this button will save pictures in eWatcherSDK folder.
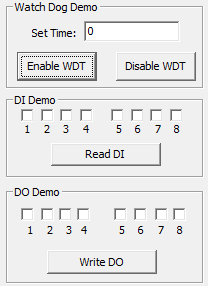
Watchdog & DI/DO Demo
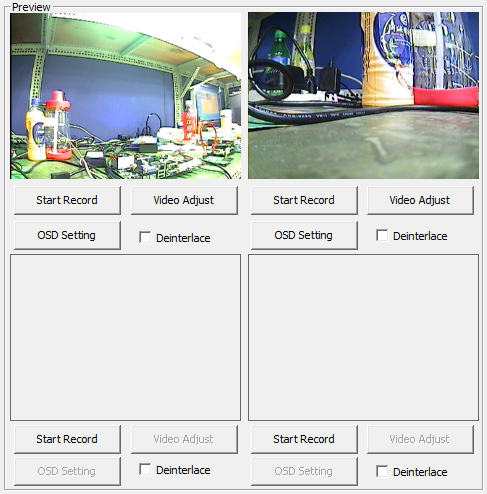
Preview
- Start Record Button
- Record video data which camera captured.
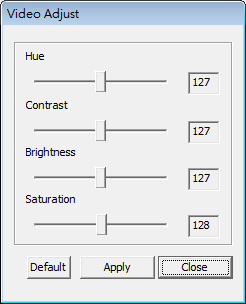
- Video Adjust Button
- Adjust hue, contrast, brightness, saturation.
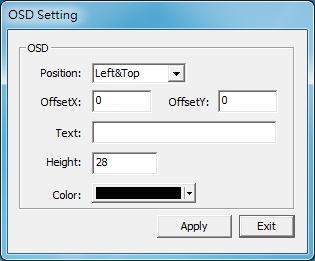
- OSD Setting Button
- Add some texts in the preview frame, and set texts' color, size and position.
- Deinterlace Checkbox
- If the image camera catched will like the picture below, you can choose operating "deinterlace" to help the image be normal.
